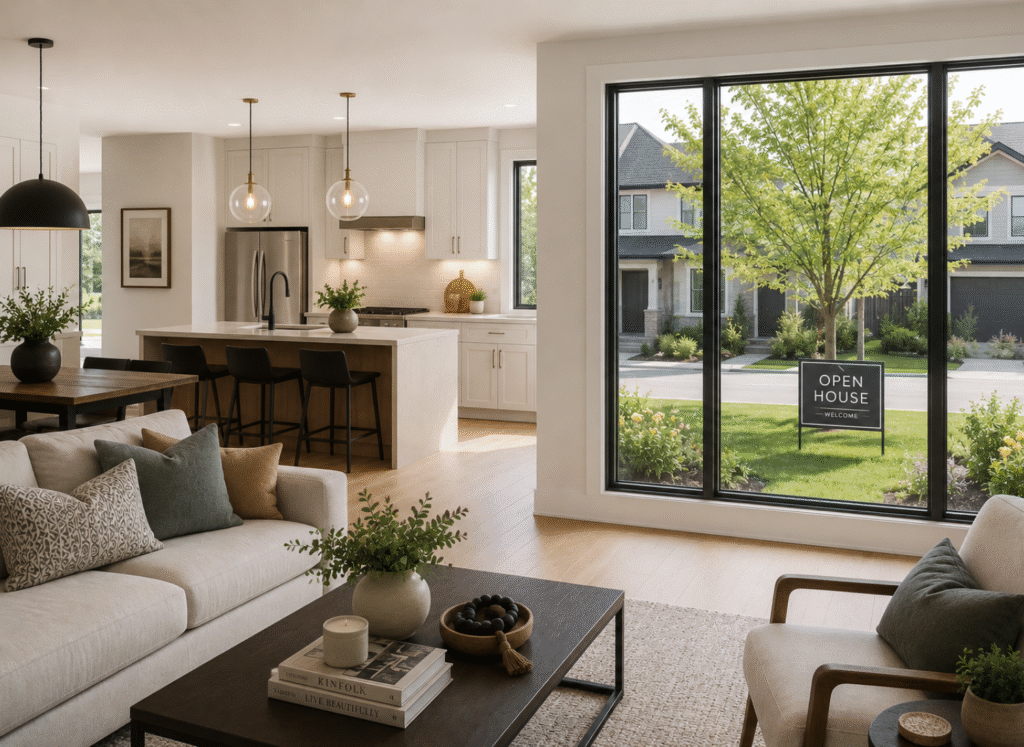
You already put in the work: staged the home, greeted every visitor, answered a hundred questions, and stood on your feet for three hours straight. So why let all of that effort disappear the moment the last guest leaves? One open house holds enough material for an entire week of social content, if you capture it right and know how to slice it up afterward.
Here’s how to squeeze seven days of posts out of a single Saturday.
Before You Even Open the Door: What to Capture
The content plan starts before the first guest arrives. Spend 10–15 minutes before doors open collecting raw material:
- A few walkthrough video clips of each room, shot horizontally and vertically
- Close-up shots of standout details: the kitchen island, a fireplace, a backyard feature
- A quick “getting ready” clip of you setting out signage, flyers, or refreshments
- A selfie-style video introducing the property and inviting people to stop by
During the open house, grab a few more things:
- Candid photos or video of visitors walking through (with permission)
- Any interesting questions buyers ask. Jot them down, they make great caption fodder
- A short clip of you talking about the neighborhood or a nearby amenity
That’s it. Fifteen minutes of intentional filming turns into a week’s worth of content.
Day 1 (Friday): The Teaser
Post a short, vertical video clip, maybe the exterior shot or the best room in the house, with a caption like “Open house tomorrow, 12–3 pm. Here’s a sneak peek.” Keep it under 15 seconds. This is about building anticipation, not giving away the whole tour.
Day 2 (Saturday): Open House Day
Post live or same-day. A Story sequence works well here: a few quick clips throughout the day showing the home filling up with visitors, plus a “swipe up” or link-in-bio CTA if you want people to book a private showing. If turnout is good, a short clip of the crowd (with faces blurred or from behind, if needed) builds social proof for your next listing.
Day 3 (Sunday): The Full Walkthrough
Turn your best video clips into one longer walkthrough video for Reels or a carousel post. This is the “main event” post of the week: the one that actually shows off the property in full. Add a caption with the price, square footage, and standout features.
Day 4 (Monday): The Detail Carousel
Take the close-up shots (e.g. the island, the fireplace, the walk-in closet) and turn them into a carousel post. Using the new per-slide caption feature, give each photo its own quick caption: “Quartz island, seats 4,” “Wood-burning fireplace,” “Walk-in closet with custom shelving.” This format is great for keyword discoverability and gives people a reason to swipe through slowly.
Day 5 (Tuesday): The Neighborhood Angle
Repurpose that clip of you talking about the neighborhood, or shoot a quick voiceover over photos of nearby parks, restaurants, or schools. Buyers aren’t just buying a house; they’re buying a location. This post also positions you as the local expert, not just the person holding the lockbox code.
Day 6 (Wednesday): The FAQ Post
Turn the questions visitors actually asked into a text-based graphic or a talking-head video: “3 Questions Everyone Asked at Saturday’s Open House.” This format performs well because it feels genuinely useful rather than promotional, and it’s a natural way to address buyer hesitations (HOA fees, school zones, recent updates) without sounding like a sales pitch.
Day 7 (Thursday): The Behind-the-Scenes Recap
Close out the week with a more personal post: a photo of you setting up, a stat (“40 people came through Saturday!”), or a thank-you to everyone who stopped by. This humanizes your brand and sets up the next open house or listing announcement.
A Few Tips to Make This Easier
Batch your editing. Set aside 30-45 minutes right after the open house to sort your clips and photos into a folder by day, so you’re not scrambling to find content mid-week.
Reuse formats, not just footage. Once you build this workflow for one open house, you can reuse the same seven-day structure for every listing going forward.
Don’t force all seven days every time. If a listing doesn’t have great neighborhood content, skip that day or swap in a market update instead.
A Few Tips to Make This Easier
- Batch your editing. Set aside 30-45 minutes right after the open house to sort your clips and photos into a folder by day, so you’re not scrambling to find content mid-week.
- Reuse formats, not just footage. Once you build this workflow for one open house, you can reuse the same seven-day structure for every listing going forward.
- Don’t force all seven days every time. If a listing doesn’t have great neighborhood content, skip that day or swap in a market update instead.
Final Thoughts
An open house doesn’t have to be a one-and-done event on your calendar. With a little planning before you even unlock the front door, three hours of hosting can fuel an entire week of content that builds your brand, attracts buyers, and keeps your pipeline of future sellers warm.
Want a plug-and-play version of this exact content calendar? Join Agent Social Haus for ready-made templates every month, including open house content packs you can customize in minutes instead of starting from scratch.